Sourdough Starter: How to Feed and Maintain It
Sourdough Starter: How to Feed and Maintain It
Creating and maintaining a sourdough starter is a journey that connects you with centuries of baking tradition. The process is both rewarding and essential for anyone who wants to craft artisan-style bread at home. Whether you are starting from scratch or learning how to care for an established starter, understanding the ins and outs of feeding and maintaining it is crucial for successful baking.
What Is a Sourdough Starter and Why Is It Important?
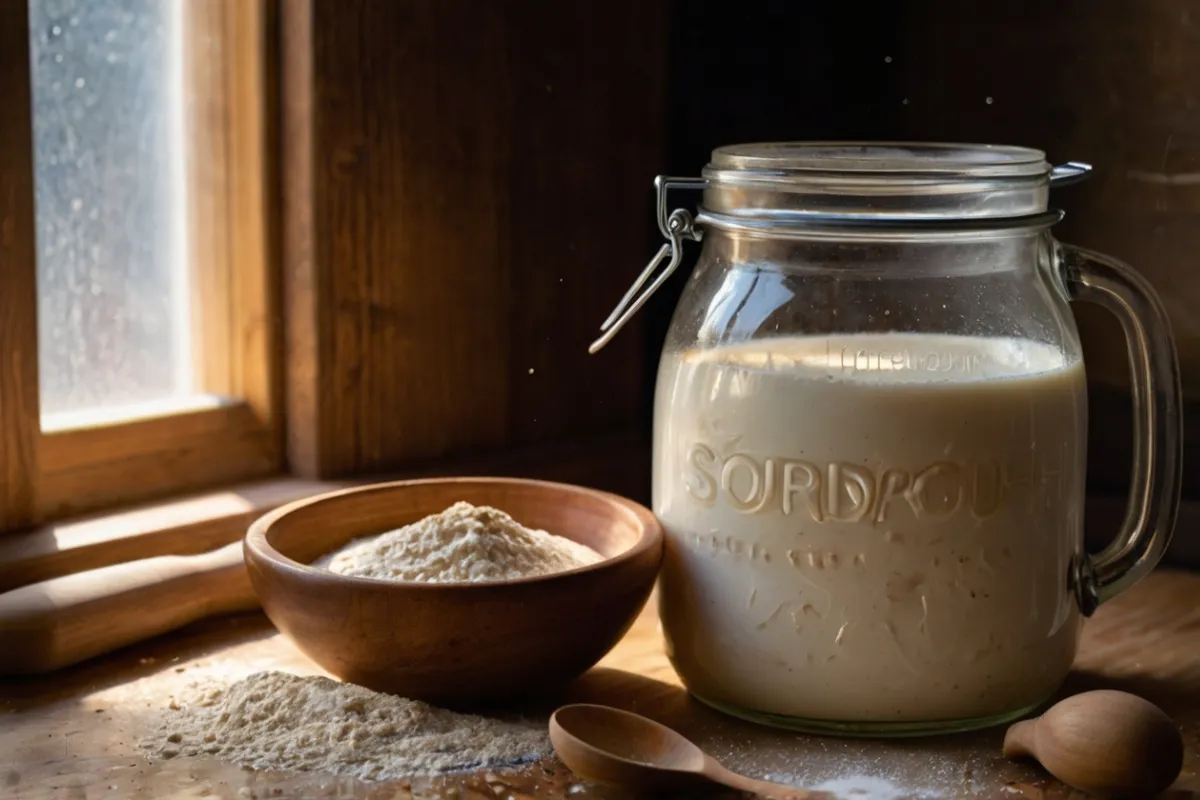
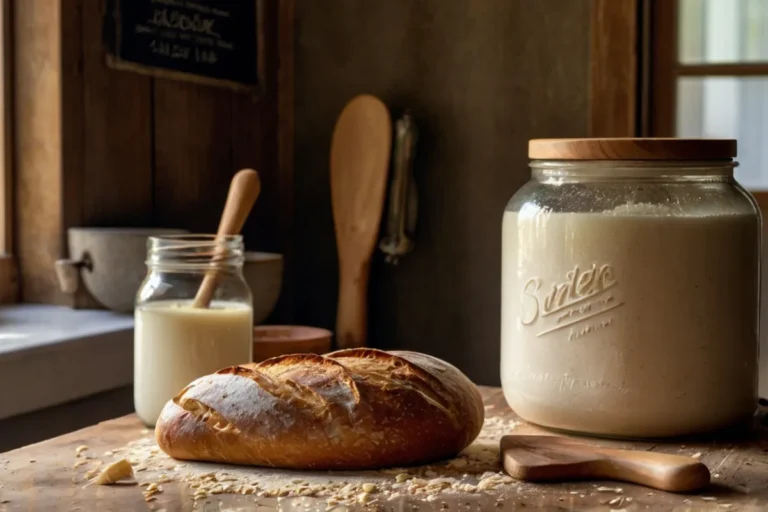
A sourdough starter is a fermented mixture of flour and water that serves as the natural leavening agent in sourdough bread. Unlike commercial yeast, which provides a rapid rise, a starter is a living culture of wild yeast and lactic acid bacteria. This unique combination contributes to the bread’s characteristic tangy flavor and chewy texture.
Maintaining a healthy starter ensures your bread will have the structure, rise, and complex flavor that defines a good sourdough. A well-fed starter will keep its vitality, allowing you to bake consistently great loaves without worrying about underperformance or failure.
Essential Tools and Ingredients for Feeding Your Starter
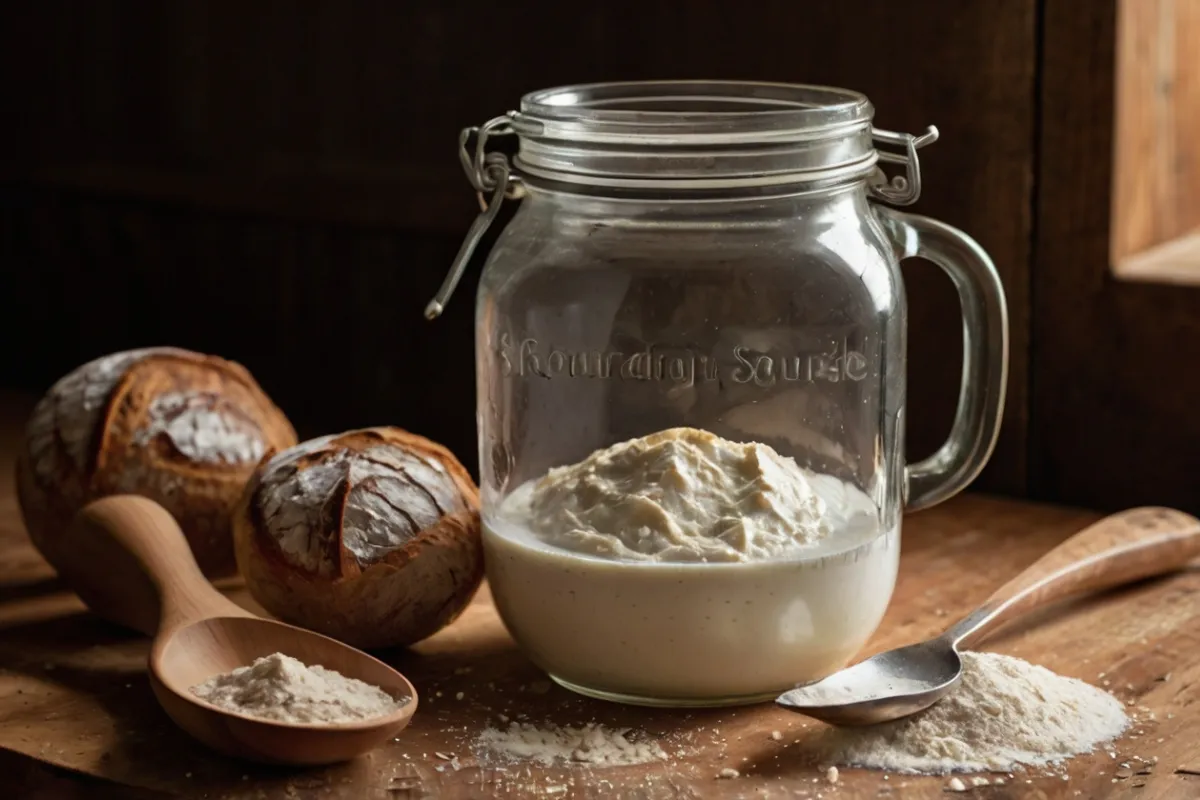
You don’t need an extensive array of tools to successfully feed and maintain a sourdough starter, but a few essentials will make the process smoother and more precise.
Must-Have Tools:
- Digital Kitchen Scale: Essential for measuring equal parts of flour and water accurately.
- Mixing Jars: Airtight, transparent containers help you monitor the starter’s activity.
- Spoon or Spatula: For mixing without introducing too much air.
Basic Ingredients:
The two fundamental ingredients for feeding your starter are flour and water. Using quality ingredients ensures your starter stays healthy and active.
| Ingredient | Purpose |
|---|---|
| High-quality flour | Provides nutrients for the yeast and bacteria |
| Filtered water | Prevents chlorine from hindering fermentation |
How to Feed Your Sourdough Starter
Feeding your starter correctly is a straightforward process that ensures it stays active and ready for baking. Follow this step-by-step guide to maintain a healthy culture.
- Discard Part of the Starter: Before adding fresh flour and water, remove about half of the starter. This step prevents the buildup of waste products and maintains the correct ratio of microorganisms.
- Add Fresh Flour and Water: Use equal parts (by weight) of flour and water. For instance, if you keep 100g of starter, add 50g of water and 50g of flour.
- Mix Thoroughly: Stir until the mixture is smooth and no dry flour remains. Ensure all ingredients are well combined.
- Cover and Store: Place the lid loosely on the jar and let it sit at room temperature for 4-12 hours, depending on the temperature of your kitchen.
Understanding Feeding Ratios for Optimal Results
Feeding ratios determine the strength and growth rate of your starter. The most common ratios include:
- 1:1:1 Ratio: Equal parts starter, flour, and water. This ratio works well for maintaining an established starter.
- 1:2:2 Ratio: Doubling the amount of flour and water compared to the starter results in a milder taste and more active starter.
- 1:3:3 Ratio or Higher: Useful if your starter is very active and you need to slow down fermentation.
Choosing the correct ratio depends on your baking schedule and the ambient temperature. In a warm kitchen, a higher feeding ratio prevents the starter from exhausting itself too quickly.
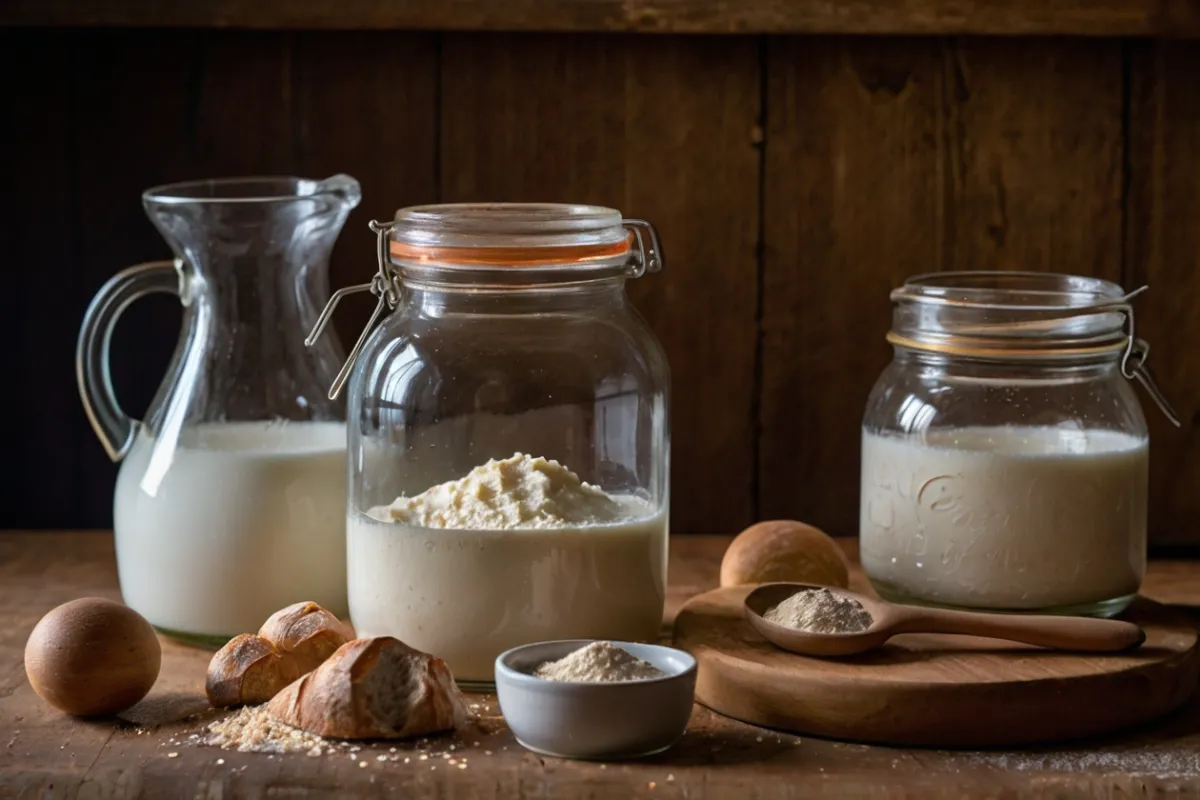
Signs of a Healthy Sourdough Starter
Knowing what to look for will help you identify whether your starter is thriving or needs attention. Here’s how to assess its health:
Key Indicators:
- Bubbles and Growth: Your starter should double in size within 4-6 hours of feeding. A bubbly surface signals active fermentation.
- Pleasant Aroma: It should smell slightly tangy, similar to yogurt or beer. A sharp, sour smell might indicate it’s too acidic.
- Elastic Texture: The mixture should be stretchy and easy to stir.
How to Maintain Your Sourdough Starter Long-Term
Keeping your starter healthy for the long haul requires a routine that fits your baking habits.
Room Temperature vs. Refrigeration:
- Room Temperature: Feeding daily is necessary to maintain activity. This is ideal if you bake frequently.
- Refrigeration: For those who bake less often, store your starter in the fridge and feed it weekly to keep it dormant but alive.
Reviving a Dormant Starter:
If you haven’t fed your starter in a while, start by discarding most of it and feed with a higher ratio, such as 1:2:2. Repeat this for a few days until it becomes active again.
Troubleshooting Common Starter Problems
Even experienced bakers encounter starter issues. Knowing how to troubleshoot can save your starter from going to waste.
Common Issues and Fixes:
- Starter Won’t Rise: Check if your flour has enough nutrients, use filtered water, and adjust the feeding frequency.
- Overly Sour Starter: An overly acidic environment may slow growth. Discard and refresh with a higher feeding ratio.
- Mold Growth: If you see mold, it’s best to discard the starter and start anew. Always use clean containers and utensils.
Enhancing Your Starter with Different Flours
Diversifying the type of flour you use can improve the complexity of your starter’s flavor and activity.
Popular Flour Choices:
- Whole Wheat Flour: Rich in nutrients that promote strong fermentation.
- Rye Flour: Speeds up fermentation and adds depth to the flavor profile.
- Alternative Grains: Such as spelt or einkorn, for unique flavors.
Switching flours should be done gradually to let the starter adapt. Mix a small portion of the new flour with your usual feeding to see how the starter reacts.
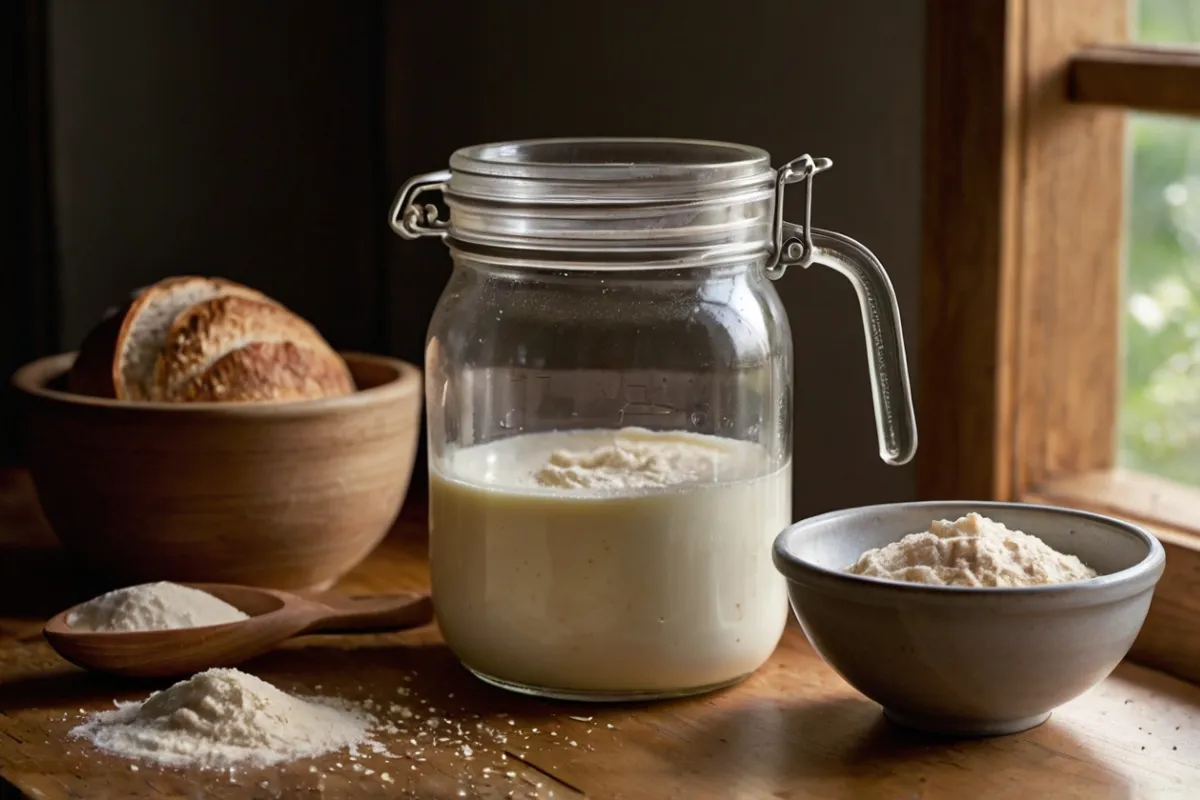
How to Use Discarded Sourdough Starter
Discard doesn’t have to go to waste. You can use it in various recipes that don’t require it to be fully active.
Creative Uses for Starter Discard:
- Pancakes and Waffles: Add tang and lightness to breakfast staples.
- Crackers: Make savory, crispy snacks with simple seasonings.
- Quick Breads: Enhance banana bread or muffins with a hint of sourdough.
Store discard in an airtight container in the refrigerator and use it within a week for the best results.
FAQs About Feeding and Maintaining Sourdough Starter
Q: How often should I feed my starter?
A: If kept at room temperature, feed it daily. If refrigerated, a weekly feeding suffices.
Q: Can I use tap water for feeding?
A: Filtered water is best to avoid the chlorine and chemicals present in tap water.
Q: What should I do if my starter separates and forms liquid on top?
A: This liquid, called hooch, indicates your starter is hungry. Stir it back in or pour it off and feed as usual.
Q: Can I revive a starter that has been in the fridge for months?
A: Yes, start with small feedings and gradually increase until it becomes active again.
Conclusion
Nurturing a sourdough starter takes dedication but rewards you with the ability to create flavorful, artisanal bread. By understanding the essentials of feeding, recognizing signs of health, and troubleshooting issues, you can maintain a strong and vibrant starter for years to come. Embrace the journey of caring for your sourdough starter and enjoy baking loaves that showcase your passion and skill.
Call to Action: Start your sourdough journey today, and don’t forget to share your baking stories and starter tips with the community. Use #SourdoughSuccess to join the conversation!

