Sourdough Starter: How to Make and Maintain It
Master the Art of Sourdough: How to Make and Maintain a Starter That Lasts a Lifetime
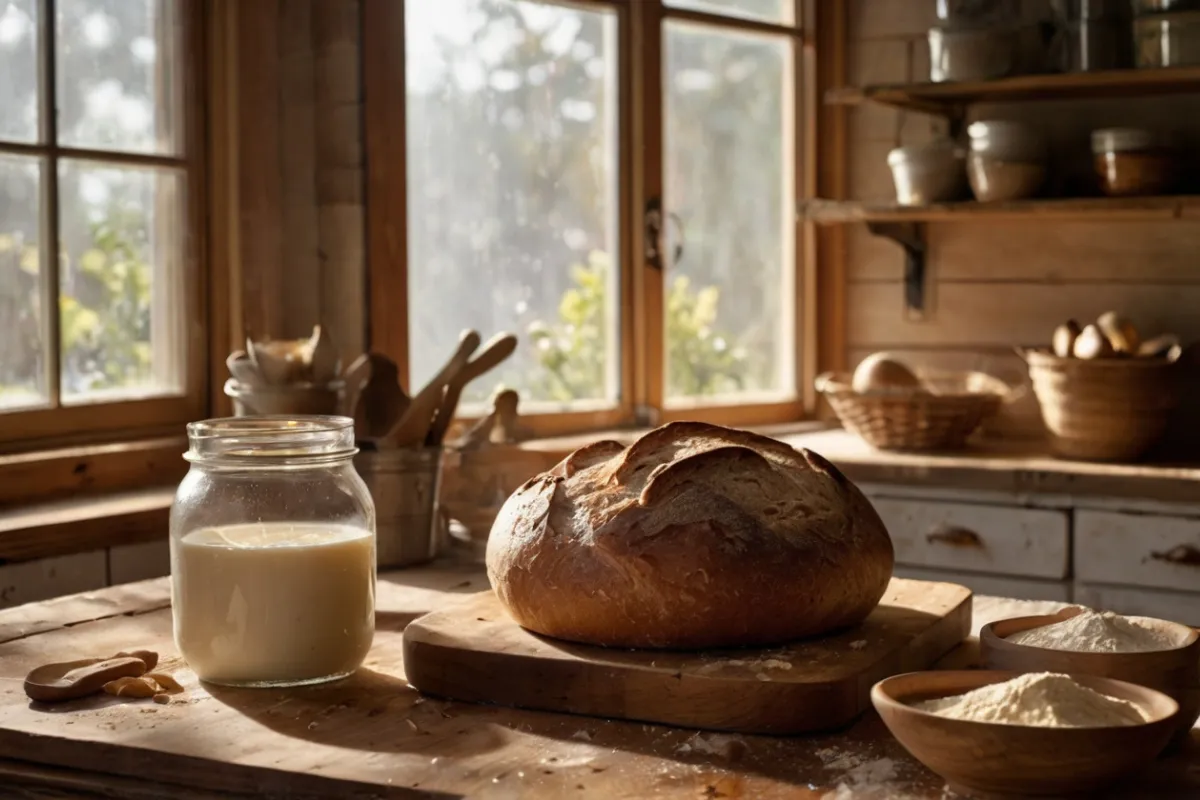
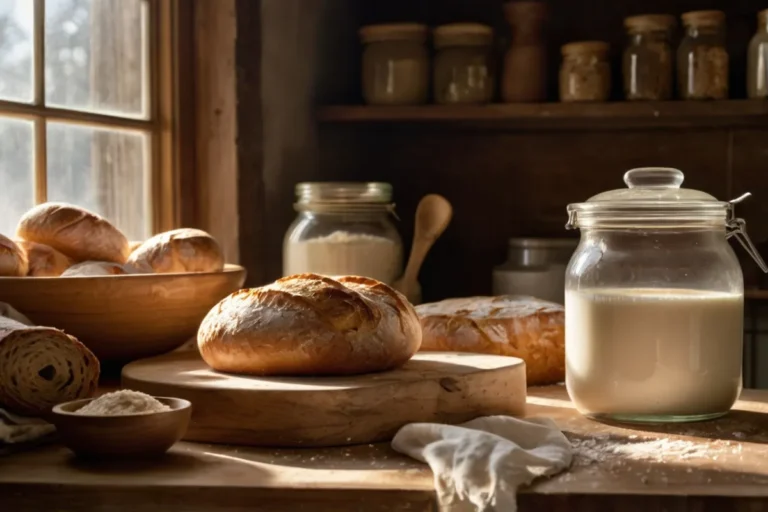
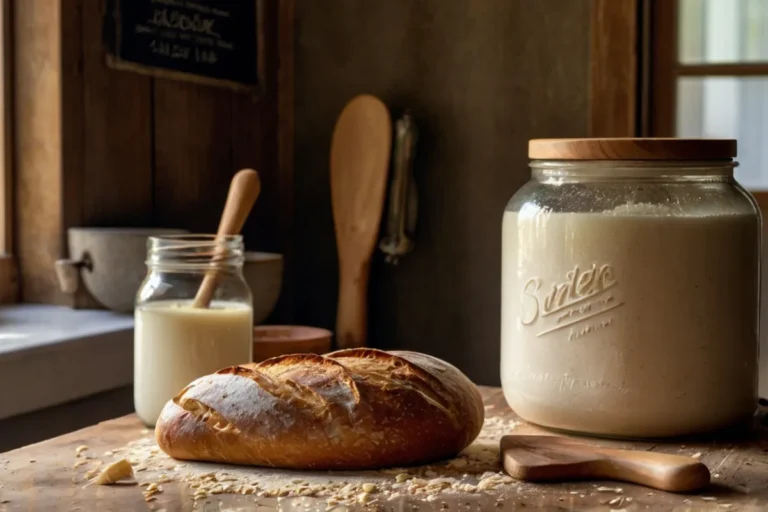
Freshly baked sourdough bread has a way of captivating the senses. The aroma wafting through your kitchen, the crackle of the crust as it cools, and the tangy flavor in every bite—it’s an experience that feels almost magical. But the real secret behind sourdough’s charm lies in its humble beginning: the starter. A sourdough starter is more than a simple mixture of flour and water; it’s a living, breathing culture that connects you to centuries of baking traditions. If you’ve ever dreamed of creating your own sourdough masterpiece, this guide will walk you through every step, from starting your culture to keeping it thriving for years to come.
What Is a Sourdough Starter?
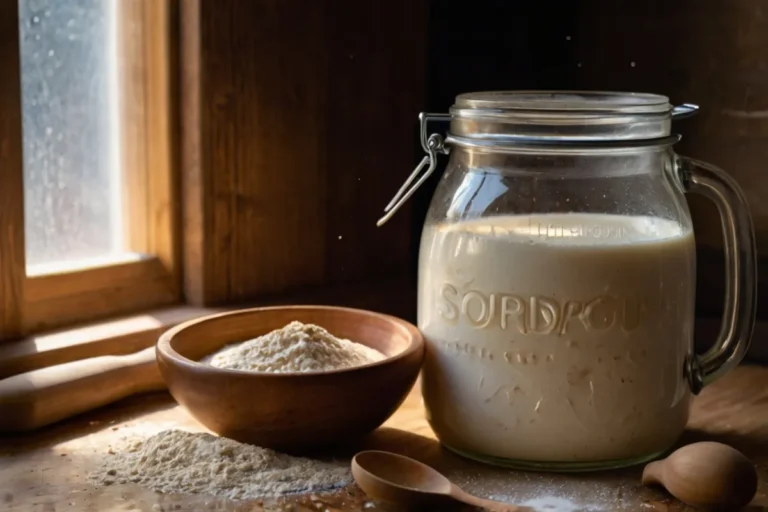
At its core, a sourdough starter is a natural fermentation of flour and water that captures wild yeast and bacteria from the environment. Unlike store-bought yeast, which is designed for quick and consistent results, a starter develops at its own pace, producing bread with unique flavors and textures. The yeast in your starter is responsible for making your dough rise, while the bacteria contribute to the tangy flavor and improved digestibility. Not only does this method eliminate the need for commercial yeast, but it also enhances the nutritional profile of your bread through the natural fermentation process.
A well-maintained starter is versatile, too. Beyond sourdough bread, it can be used to create pancakes, waffles, pizza crusts, and more. The benefits of sourdough baking extend beyond taste; it’s a sustainable, cost-effective, and deeply rewarding practice that connects you to the heart of homemade food.
Why Should You Make Your Own Sourdough Starter?
Creating your own sourdough starter might seem intimidating, but it’s surprisingly simple and incredibly rewarding. When you make your own starter, you control every aspect of the process, from the quality of the ingredients to the final flavor profile. Store-bought bread often contains preservatives and additives, but your homemade sourdough will be pure, wholesome, and packed with character.
There’s also something deeply personal about nurturing a starter. As you feed and care for it, you’ll develop a connection to the process, much like tending to a garden. Over time, your starter will take on unique characteristics based on your environment, ingredients, and care routine. It becomes a living representation of your kitchen and your dedication.
How to Make a Sourdough Starter from Scratch
Starting your sourdough journey begins with gathering just two ingredients: flour and water. While the process is simple, patience and consistency are key to success. Here’s what you’ll need:
| Ingredient | Amount | Substitutes |
|---|---|---|
| All-Purpose Flour | 1 cup | Whole Wheat Flour |
| Filtered Water | ½ cup | Spring Water |
Step-by-Step Instructions
- Combine one cup of flour and half a cup of filtered water in a clean glass jar. Stir until the mixture is smooth, ensuring there are no lumps.
- Cover the jar loosely with a cloth or coffee filter, allowing airflow while preventing dust or insects from entering.
- Place the jar in a warm spot, ideally between 70°F and 75°F.
- Stir the mixture once daily and observe for bubbles or a tangy aroma, which indicate fermentation.
By day three, you should notice activity in the form of small bubbles or a slightly sour smell. This is your starter coming to life! Over the next few days, feed your starter daily by discarding half of it and adding equal parts fresh flour and water. By day seven, your starter should double in size within 4-6 hours of feeding, signaling it’s ready for baking.
How to Feed and Maintain Your Sourdough Starter
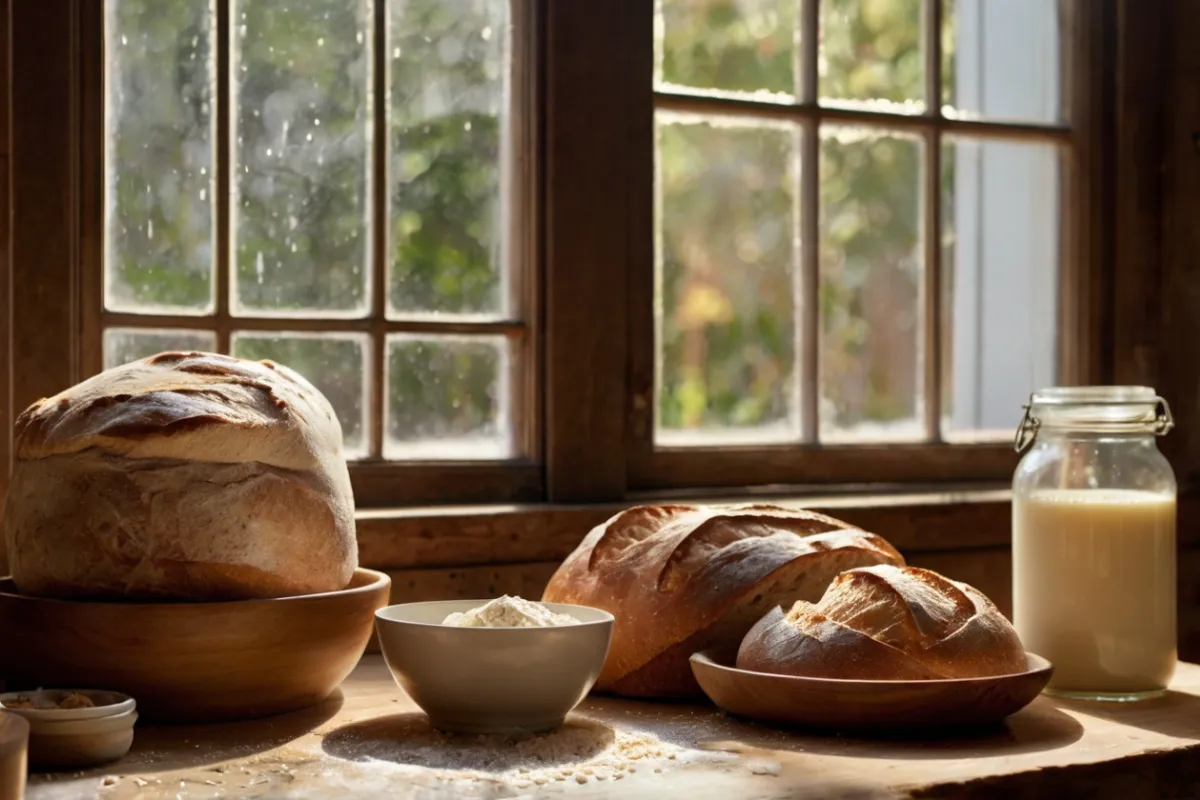
Feeding your sourdough starter is like caring for a small pet—it needs regular attention to stay healthy and active. Here’s how to keep your starter thriving:
Feeding Schedule
- Daily Feeding (Room Temperature): If you plan to bake frequently, keep your starter at room temperature and feed it daily. Discard half of the starter, then add equal parts flour and water.
- Weekly Feeding (Refrigeration): For less frequent baking, store your starter in the refrigerator and feed it once a week. Remove it from the fridge, let it come to room temperature, and follow the same feeding process.
Signs of a Healthy Starter
A healthy starter will:
- Have a bubbly surface.
- Double in size a few hours after feeding.
- Emit a tangy, slightly sweet aroma.
If your starter looks or smells off, don’t panic. Troubleshooting common issues is straightforward.
Troubleshooting Common Sourdough Starter Issues
Even with the best intentions, starters can sometimes encounter problems. Here’s how to address them:
Why Isn’t My Starter Bubbling?
- Possible Causes: Poor water quality, cold environment, or expired flour.
- Solutions: Use filtered or spring water, place the starter in a warm spot, and ensure your flour is fresh.
What to Do If You See Mold
- Mold can occur if the starter is neglected for too long or exposed to contaminants.
- Solution: Discard the entire starter and begin again. It’s better to err on the side of caution.
Creative Ways to Use Sourdough Discard
Maintaining a starter involves discarding a portion during each feeding, but this doesn’t mean waste! Sourdough discard is a versatile ingredient that can elevate everyday recipes.
Quick Recipes Using Discard
- Pancakes: Mix one cup of discard with one egg, a teaspoon of baking powder, and a pinch of salt. Cook on a hot griddle for fluffy, tangy pancakes.
- Crackers: Combine discard with olive oil, herbs, and salt. Roll thin and bake until crisp.
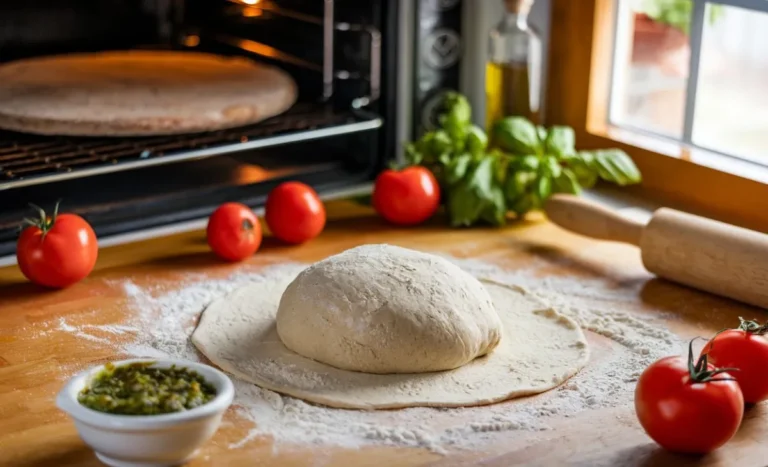
- Pizza Dough: Use discard as a base for flavorful, chewy crusts.
By incorporating discard into your cooking, you’ll make the most of your starter while reducing waste.
Pro Tips for Long-Term Sourdough Success
As you gain experience, you’ll discover ways to refine and customize your sourdough process. Here are a few tips to set you up for success:
Tools You’ll Need
- Glass Jars: Non-reactive and easy to clean.
- Kitchen Scale: Ensures accurate measurements for feeding.
- Silicone Spatula: Gentle on jars and effective for mixing.
Seasonal Adjustments
- In colder months, use slightly warm water during feeding to keep the fermentation process active.
- In hot, humid climates, reduce the hydration level by adding a bit more flour to maintain the right consistency.
FAQ About Sourdough Starter
- What is the best flour for sourdough starter? Whole wheat or rye flour is ideal for starting a culture due to its nutrient density, but all-purpose flour works well for maintenance.
- Can I skip a feeding? If refrigerated, your starter can go a week without feeding. However, bring it back to room temperature and feed it before baking.
- How long does it take to make a starter? Most starters are ready to use within 5-7 days, but some may take longer depending on environmental factors.
Conclusion: Start Your Sourdough Journey Today
Embarking on your sourdough adventure is a journey of discovery, patience, and reward. By creating and maintaining your own starter, you’re not just making bread; you’re connecting to a timeless tradition that brings joy to your kitchen and beyond. Start today, and soon, you’ll be savoring the fruits of your labor—a loaf that’s as unique as your care and dedication. Your sourdough story awaits. Dive in, and let the magic unfold.

