Vegetable Soup Canning Made Easy: A Step-by-Step Guide for Beginners
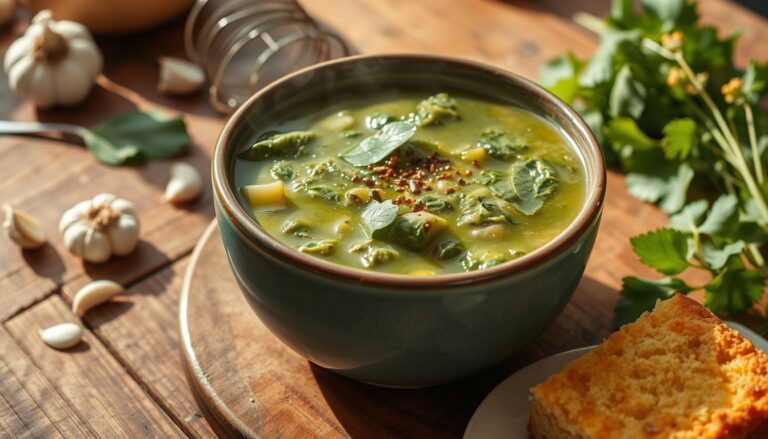
When it comes to preserving the bounty of the harvest season, vegetable soup canning is a game-changer. Imagine having a pantry stocked with jars of rich, hearty soup, ready to warm you up on a chilly day. Not only is this practice practical, but it’s also deeply satisfying and sustainable. Whether you’re looking to save money, reduce food waste, or simply enjoy the taste of homemade goodness, this guide will walk you through the process step by step. Let’s dive into the world of vegetable soup canning and discover how easy it is to start this rewarding journey.
What is Vegetable Soup Canning, and Why Should You Do It?
Vegetable soup canning is a method of preserving soup by sealing it in jars and processing it at high temperatures to ensure safety and longevity. This technique allows you to enjoy garden-fresh flavors year-round without worrying about spoilage. Beyond its practical benefits, canning soup lets you take control of the ingredients in your meals, offering a healthier alternative to store-bought options. Additionally, it’s an excellent way to reduce food waste by preserving excess produce that might otherwise go unused. Whether you’re prepping for busy weekdays or aiming for self-sufficiency, canning vegetable soup makes life simpler and more delicious.
Essential Equipment and Tools for Canning Vegetable Soup
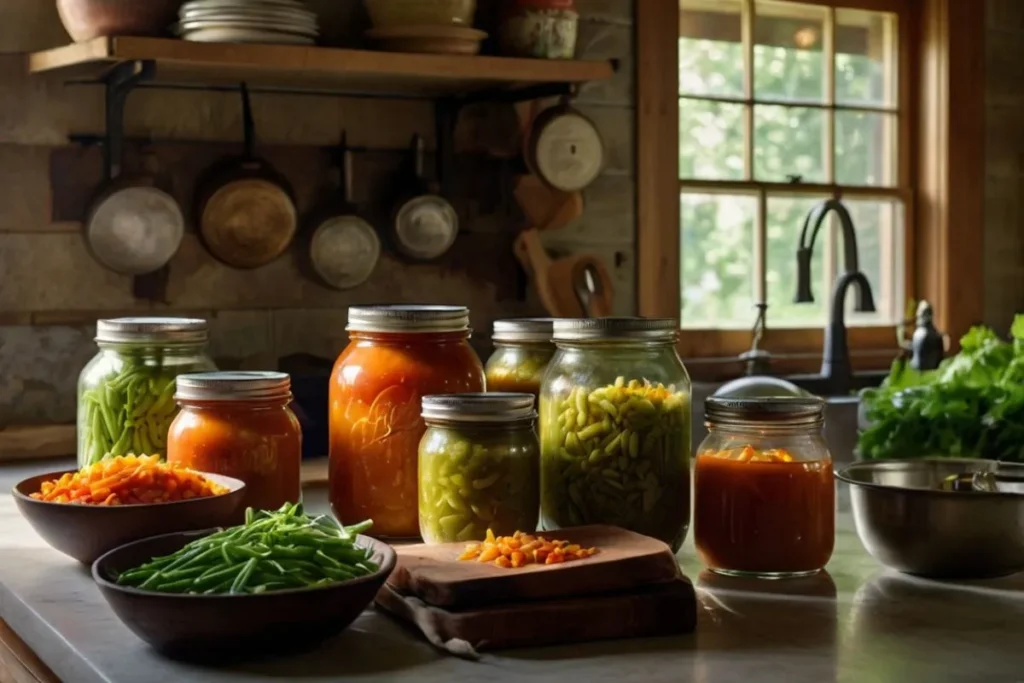
Before you get started, you’ll need the right tools. The cornerstone of successful vegetable soup canning is a good-quality pressure canner. Unlike water bath canners, pressure canners are designed to handle low-acid foods like soup, ensuring safety and preventing the risk of botulism. Other essential tools include glass jars with two-part lids, a funnel for clean filling, a jar lifter for safe handling, and a ladle for easy portioning. Labels and markers are also helpful for organizing your jars with dates and contents. By investing in reliable equipment, you’ll set yourself up for canning success for years to come.
How to Choose the Best Ingredients for Canning
The key to flavorful canned soup lies in selecting the freshest ingredients. When choosing vegetables, look for firm, unblemished options. Farmers’ markets and local farms are excellent sources for high-quality produce. Popular choices for vegetable soup include carrots, celery, tomatoes, green beans, and potatoes. For the best results, avoid adding dairy, pasta, or thickening agents, as these don’t preserve well and can compromise the safety of your soup. Instead, focus on a balance of vegetables that complement each other in flavor and texture.
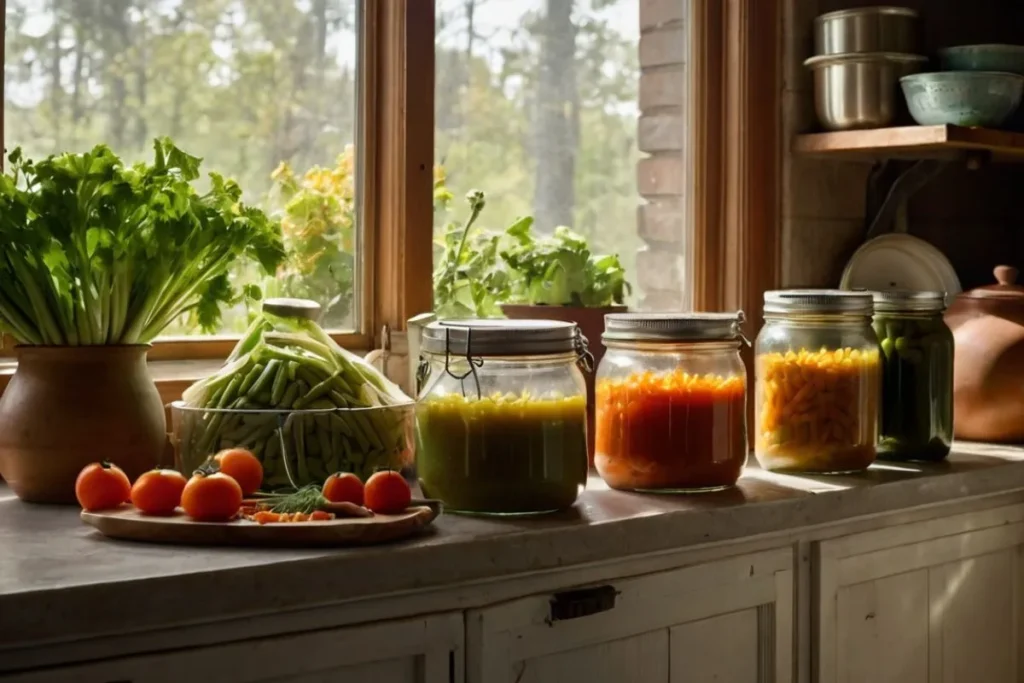
Table: Recipe Ingredients
| Ingredient | Quantity | Preparation Notes |
|---|---|---|
| Carrots | 2 cups | Chopped |
| Celery | 2 cups | Sliced |
| Tomatoes | 3 cups | Diced |
| Green Beans | 1 cup | Trimmed |
| Potatoes | 2 cups | Cubed |
| Onion | 1 large | Minced |
| Garlic | 3 cloves | Minced |
| Vegetable Broth | 4 cups | Pre-made or homemade |
By using fresh, high-quality ingredients, you’ll create a soup that tastes as vibrant months later as it does the day you make it.
Step-by-Step Instructions for Canning Vegetable Soup
Making canned vegetable soup might sound intimidating, but it’s simpler than you think. Follow these straightforward steps to master the process:
Preparation Stage:
- Sanitize your jars and lids. Wash them thoroughly with soap and water, then sterilize them by boiling or using your dishwasher’s sterilize setting.
- Prepare your vegetables. Wash, peel, and chop them into uniform sizes for even cooking.
- Cook the soup base. Combine vegetables and broth in a large pot, bringing them to a gentle simmer. Avoid fully cooking the vegetables to prevent them from becoming mushy during processing.
Filling and Sealing the Jars:
- Fill each jar. Using a funnel, ladle the soup into jars, leaving about an inch of headspace to allow for expansion.
- Remove air bubbles. Run a plastic spatula around the inside edges of the jar to release trapped air.
- Wipe jar rims. Clean the rims with a damp cloth to ensure a proper seal.
- Secure the lids. Place the flat lid on the jar, then screw on the ring until it’s fingertip-tight.
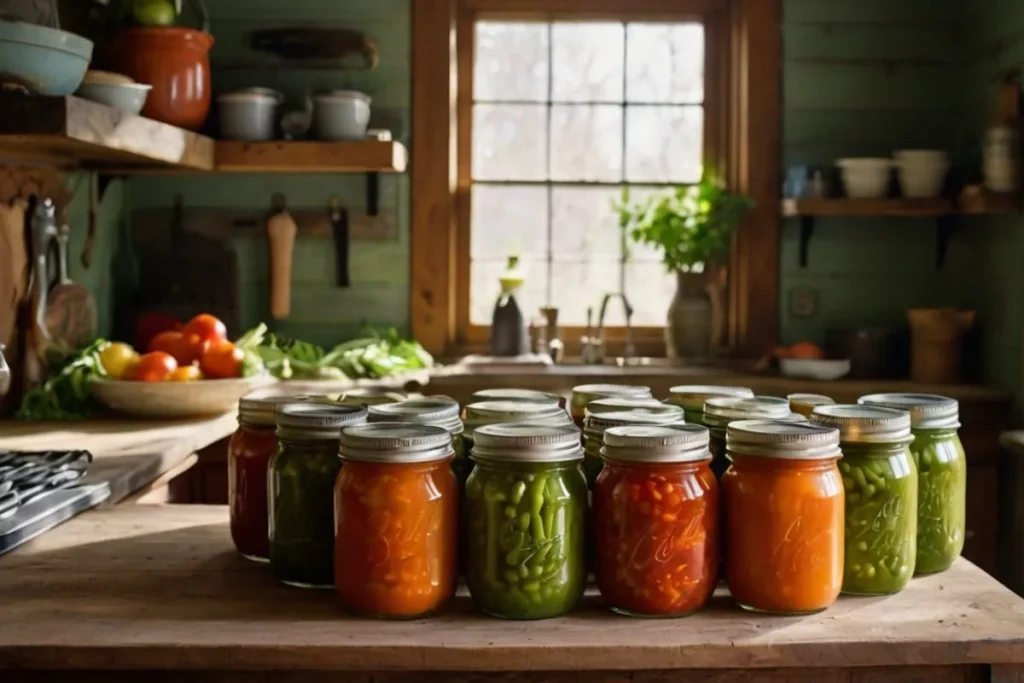
Processing the Jars in a Pressure Canner:
- Set up your canner. Add water according to the manufacturer’s instructions and place the jars inside.
- Bring to pressure. Heat the canner until it reaches the required pressure level (usually 10-15 pounds, depending on your altitude).
- Process the jars. Cook for the recommended time—typically 75 minutes for pints and 90 minutes for quarts.
- Cool and remove. Let the pressure release naturally, then carefully remove the jars and let them cool on a towel.
How to Store and Label Your Canned Soup
Once your jars have cooled, test the seals by pressing down on the lid. If it doesn’t pop back, the seal is secure. Store your jars in a cool, dark place, such as a pantry or basement. Proper labeling is crucial—include the contents and the canning date to track freshness. Properly canned soup can last up to 18 months, offering you a convenient meal option whenever you need it.
Tips to Ensure Safe and Delicious Results
Canning is a precise science, and following safety guidelines is essential. Here are some tips to help you succeed:
- Always use a pressure canner for vegetable soup to eliminate harmful bacteria.
- Avoid overfilling jars or under-processing them in the canner.
- Inspect your jars for cracks or imperfections before filling.
- Follow USDA guidelines for canning times and pressures based on your altitude.
By staying vigilant and following these tips, you’ll enjoy safe, delicious soup every time.
Nutrition Breakdown for Canned Vegetable Soup
Homemade canned vegetable soup is a nutritious addition to your diet. Here’s a breakdown of its nutritional content per serving:
| Nutrient | Amount | Daily Value (%) |
|---|---|---|
| Calories | 150 | 8% |
| Protein | 5g | 10% |
| Fiber | 4g | 16% |
| Vitamin A | 30% | — |
| Vitamin C | 20% | — |
| Iron | 8% | — |
By canning your own soup, you’re not just saving money—you’re also making healthier choices for you and your family.
Frequently Asked Questions (FAQs)
Q: Can I use a water bath canner for vegetable soup?
No, vegetable soup must be processed in a pressure canner due to its low acidity. This ensures safety and prevents spoilage.
Q: How long does canned vegetable soup last?
Properly stored, canned vegetable soup can remain fresh for 12-18 months.
Q: What vegetables should I avoid when canning soup?
Avoid adding dairy, pasta, or flour-based thickeners, as these don’t preserve well and can compromise safety.
Q: Can I add meat to my vegetable soup before canning?
Yes, but you must adjust the processing time and pressure to account for the meat. Follow USDA guidelines for mixed-ingredient soups.
Conclusion: Enjoy the Rewards of Canning
Vegetable soup canning is a practical, rewarding skill that allows you to preserve the vibrant flavors of fresh produce while creating convenient, nutritious meals. By following this guide, you’ll not only save time and money but also embrace a sustainable lifestyle that benefits your family and the planet. So gather your ingredients, prepare your tools, and start your canning journey today. With a little effort, you’ll enjoy the comfort and satisfaction of homemade soup all year long.


